
brograming
JQUERY_Day40 본문
java - pc app, web app back단, android app
orcle - 데이터 영구보관
jsp / servlet - 웹 서버 페이지 개발. jsp(front), servlet(back)
html / css / javascript - front
json - 데이터 표현. [ ] {}
dom - 웹 페이지 실시간 변경. document.getElementById() 등 ...
ajax - 비동기 요청. 불필요한 페이지 이동을 줄여준다.
jquery - 자바스크립트 라이브러리.
1. 선택자
${요소)
$(document) : document 객체
$(this) : 현재객체
$('p') : 모든 p태그 요소 선택
$('.c1') : 클래스 명이 c1인 요소
$('#xx') : id가 xx인 요소
클래스 이름 앞에는 .
id이름 앞에는 #
<body>
<p>가나다</p>
<h3 class = "c1">aaa</h3>
<h3 id = "test">bbb</h3>
<h3 class = "c1">ccc</h3>
<h3>ddd</h3>
<h3 class = "c1">eee</h3>
</body>
$(document).ready(function() { // $( ~~) : 선택자. 원하는 요소를 골라낸다.
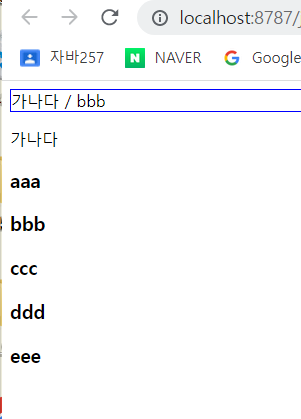
//$('p') : p태그 선택. text() = inner.HTML이랑 같지만 그 안에 있는 text값만 읽거나 쓰는 메서드이다. let txt = '가나다';
let txt = $('p').text();
let txt2 = $('#test').text();
$('#d1').text(txt + " / " + txt2);
});2. 태그 사이의 값(inner.HTML과 동일)
text() : 태그 사이의 텍스트를 읽어나 쓴다. 태그도 텍스트로 처리
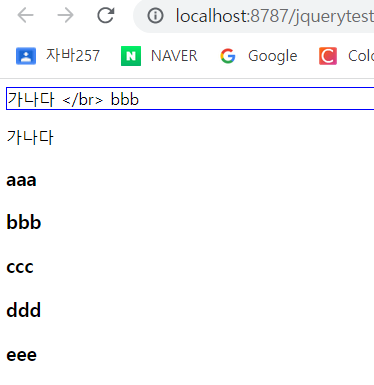
html() : 태그 사이의 텍스트와 태그를 읽고 씀. 태그는 실행

3.입력 폼의 value속성값 읽고 쓰기
val() : 입력 양식의 value값 읽고 쓰기
1) 이벤트 핸들러 등록
$('#b1').click(function(){
		alert('버튼 클릭됨');
	});
<input type= "text" id = "t1"><input type = "button" id = "b1" value = "저장">
2) id가 #t1인 요소의 value값을 txt에 담는다.
$('#b1').click(function(){
		let txt = $('#t1').val();
		alert('버튼 클릭됨. 입력값 : ' + txt);
	});
4. forEach
$(요소).each(function(idx, item) { // 각 요소 처리 })
forEach와 같다. idx : 인덱스, item : 요소
여러개의 요소에 똑같이 처리할 때
$(document).ready(function() {  // $( ~~) : 선택자. 원하는 요소를 골라낸다. / document를 선택하여 ready라는 이벤트 발생하여 등록한 함수를 자동으로 실행해라
	let txt = $('p').text();   //$('p') : p태그 선택.  text() = inner.HTML이랑 같지만 그 안에 있는 text값만 읽거나 쓰는 메서드이다. let txt = '가나다';
	let txt2 = $('#test').text();
	$('#d1').html(txt + " </br> " + txt2);

	//id가 b1인 요소에 클릭 이벤트 핸들러 붙임
	$('#b1').click(function(){
		let txt = $('#t1').val();
		alert('버튼 클릭됨. 입력값 : ' + txt);
	});

	txt = '';
	$('h3').each(function(idx, item){ // idx : 인덱스, item : 요소

		txt += idx + "번째 요소 txt:" + $(item).text() + "<br/>";
	});
	$('#d2').html(txt);
});
<body>
<div id = 'd1' style="border:1px solid blue"></div>
<div id = 'd2' style="border:1px solid blue"></div>
<p>가나다</p>
<h3 class = "c1">aaa</h3>
<h3 id = "test">bbb</h3>
<h3 class = "c1">ccc</h3>
<h3>ddd</h3>
<h3 class = "c1">eee</h3>
<input type= "text" id = "t1"><input type = "button" id = "b1" value = "저장">
</body>
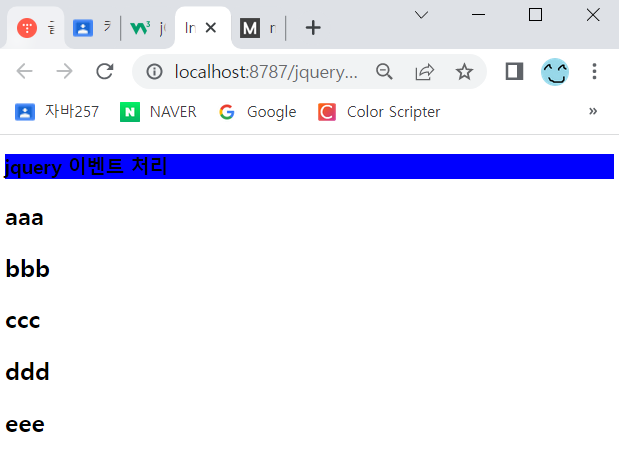
5. this
모든 h2요소에 click이벤트 달았음. this : 클릭 이벤트가 발생한 객체.
<script src="https://ajax.googleapis.com/ajax/libs/jquery/3.6.4/jquery.min.js"></script>

<script type = "text/javascript">
	$(document).ready(function() {
		$('h2').click(function(){
			$(this).hide();
		});
	});

</script>
<body>
<h3>jquery 이벤트 처리</h3>
<h2>aaa</h2>
<h2>bbb</h2>
<h2>ccc</h2>
<h2>ddd</h2>
<h2>eee</h2>
</body>

이벤트
| Mouse Events | Keyboard Events | Form Events | Document/Window Events |
| click | keypress | submit | load |
| dblclick | keydown | change | resize |
| mouseenter | keyup | focus | scroll |
| mouseleave | blur | unload |
$(요소).이벤트명(function(){ //이벤트 처리 });
$(요소).on('이벤트명', function(){ //이벤트 처리 });
$(요소).on(이벤트명: function(){}, 이벤트명:function(){}});
$(':button').click(function(){});
$(':button').on('click', function(){});
6. hover
mouseover, mouseout 합친 이벤트
$('h3').hover(function(){  // 마우스가 올라가면
			$(this).css('background', 'red');

		}, function(){           //마우스가 나가면
			$(this).css('background', 'blue');
		});
<body>
<h3>jquery 이벤트 처리</h3>
<h2>aaa</h2>
<h2>bbb</h2>
<h2>ccc</h2>
<h2>ddd</h2>
<h2>eee</h2>
</body>
7. focus / blur
1) $(':text)
각 text 입력칸에 마우스 fucus를 얻었을때 focus를 잃었을때 각각 orange, white색으로 바뀐다.
// ':text' 입력 양식이 text인것
		$(':text').focus(function(){   // focus : 포커스 얻었을 때
			$(this).css('background-color', 'orange');
		});

		$(':text').blur(function(){    // blur : 포커스 얻었을 때
			$(this).css('background-color', 'white');
		});
<h3>jquery 이벤트 처리</h3>
<input type = "text" id = "t1"><br/>
<input type = "text" id = "t2"><br/>
<input type = "button" id = "b1" value = "btn1">
<input type = "button" id = "b2" value = "btn2"><br/>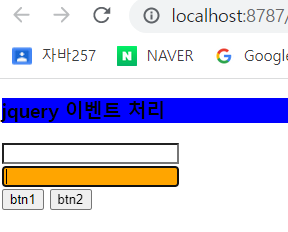

2) $(':button')
각 button을 클릭했을때 해당 button의 value값이 알림창으로 뜬다.
		//input 요소중 type이 button인 요소 선택
		$(':button').click(function(){   //클릭 이벤트 핸들러 등록
			alert($(this).val() + " 버튼이 클릭됨");
		});
8. on
요소를 클릭하면 function함수가 실행된다.
//$(요소).on('이벤트명', 핸들러)
		$('#h4').on('click', function(){
			alert($(this).text());
		});
<body>
<h3>jquery 이벤트 처리</h3>
<h4 id = 'h4'>에이치사</h4>
<input type = "text" id = "t1"><br/>
<input type = "text" id = "t2"><br/>
<input type = "button" id = "b1" value = "btn1">
<input type = "button" id = "b2" value = "btn2"><br/>
</body>
※ on을 이용해서 이벤트 핸들러를 여러개 등록할 수 있다.
		$('h1').on({click:function(){alert($(this).text());},
			mouseenter:function(){$(this).css('background-color', 'green');},
			mouseleave:function(){$(this).css('background-color', 'yellow');
		}});
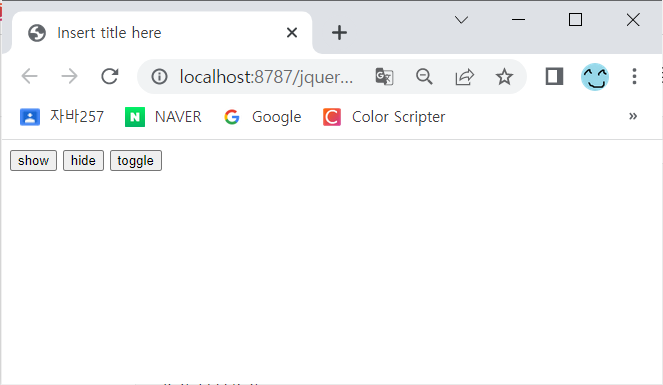
9. show / hide / toggle(show + hide)
show : $(요소).show();
hide : $(요소).hide();
<script type = "text/javascript">

$(document).ready(function(){
	$('#b1').click(function(){
		$('h3').show();
	});
	$('#b2').click(function(){
		$('h3').hide();
	});
	$('#b3').click(function(){
		$('h3').toggle();
	});
});
</script>
<body>
<input type = "button" value = "show" id ="b1">
<input type = "button" value = "hide" id = "b2">
<input type = "button" value = "toggle" id = "b3">
<h3>aaa</h3>
<h3>bbb</h3>
<h3>ccc</h3>
<h3>ddd</h3>
</body>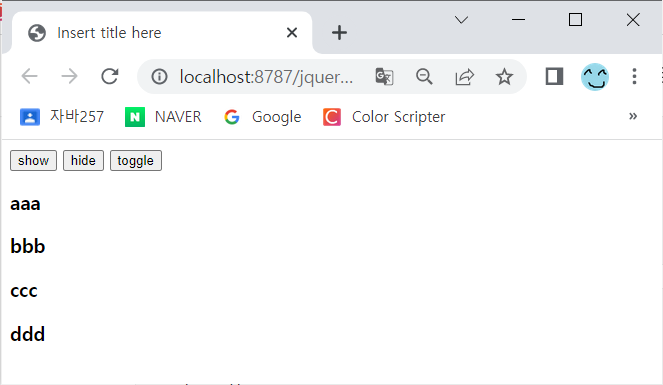
10. 요소 추가 / 삭제
append() : 마지막 자식으로 요소 추가
remove() : 요소 삭제
1) 요소 자식으로 추가
$(부모요소).append(자식요소) : 마지막 자식 추가
$(부모요소).preppend(자식요소) : 첫번째 자식 추가
<script src="https://ajax.googleapis.com/ajax/libs/jquery/3.6.4/jquery.min.js"></script>

<script type = "text/javascript">

	$(document).ready(function(){
		let cnt = 0;
		let arr = ["aaa", "bbb", "ccc", "ddd"];
		$.each(arr, function(idx, item){
			cnt = idx;
			$('#list').append("<h3 id = 'h"+cnt+"'>"+item + "</h3>");
		});

		$('#b1').click(function(){
			$('#h' + cnt). remove();
			cnt--;
		});
	});
</script>
</head>
<body>
<input type = "button" id = "b1" value = "삭제">
<div id = "list"></div>
</body>
</html>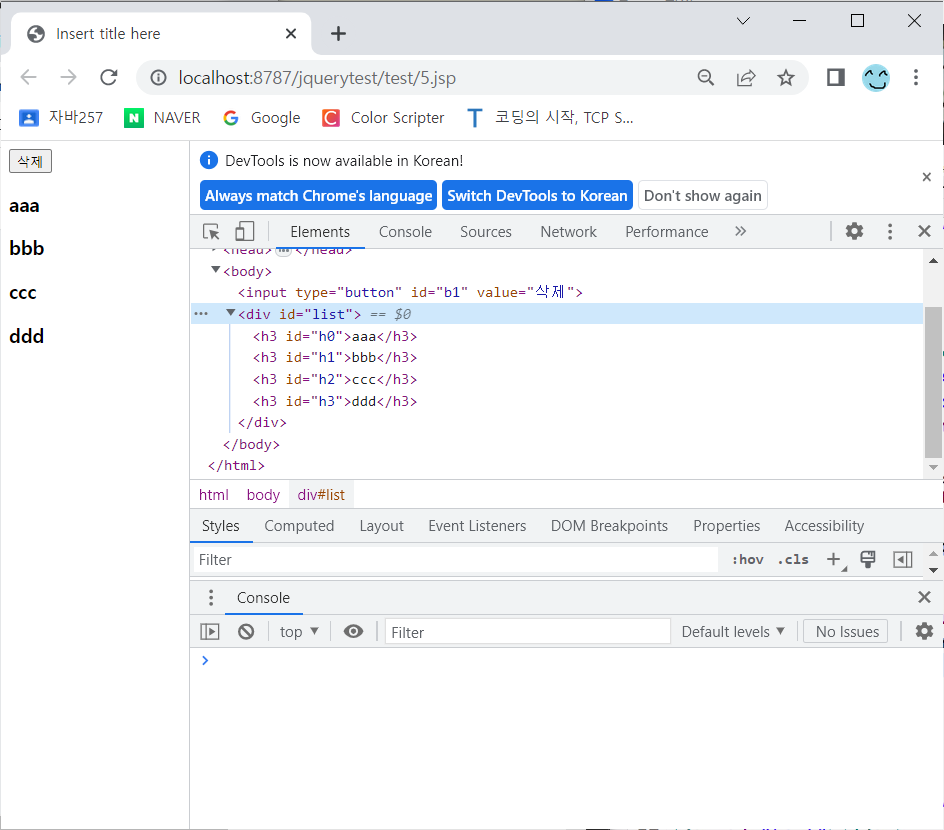
11. 속성 값 읽고 쓰기
쓰기 : attr("속성명", "값")
읽기 : attr("속성명")
'Kosta' 카테고리의 다른 글
| 공공데이터 활용 url로 정보 가져오기(Bus)_Day43 (0) | 2023.04.18 |
|---|---|
| csv, json, xml 공공데이터 활용 및 parsing_Day42 (0) | 2023.04.17 |
| Properties. load(), keySet() (0) | 2023.04.11 |
| CommandHandler_Day38 (0) | 2023.04.11 |
| DispatcherServlet / commandHandler / commands.properties_Day38 (0) | 2023.04.11 |


